Fiat Siena 1.2: Mid-term overhaul of my 1999 Fiat sedan
In this post, I elaborate on the list of repairs that my 24-year-old Fiat Siena underwent lately, after clocking some 4,000 kms in the last 16-17 months post its mechanical restoration.
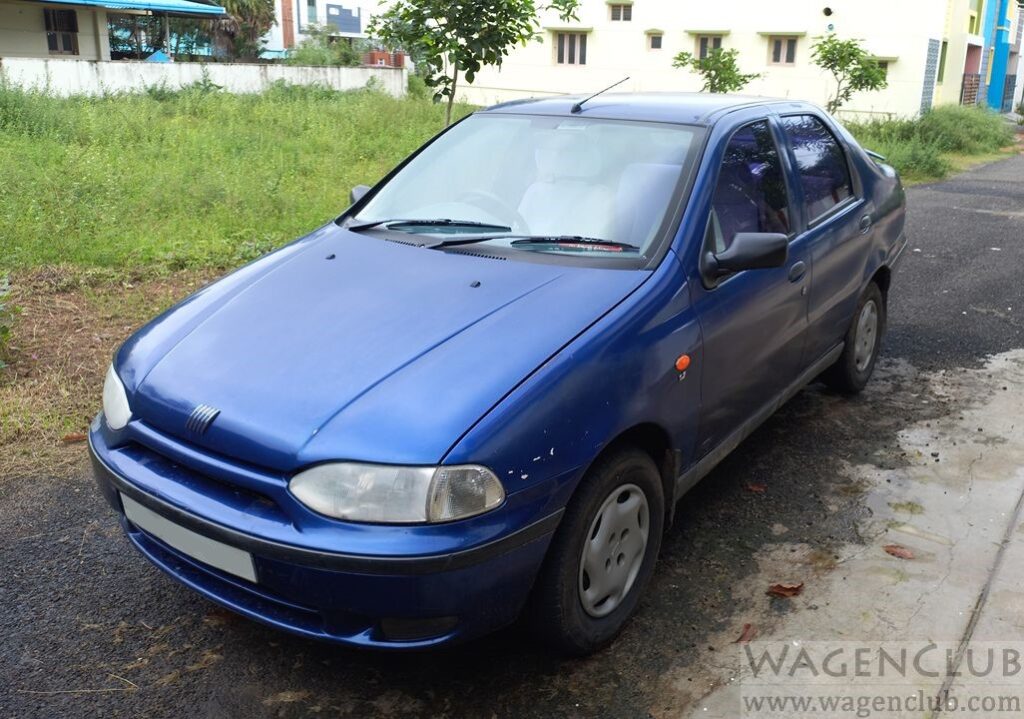
Last year, I gave my 1999 registered Fiat Siena 1.2 (Petrol) ELX-SP sedan a significant restoration. The sedan was my family’s first car and has been with us for several years now. Due to a lack of parking space at our home and lack of daily care (as I worked in Delhi), the car spent about three full years in storage at our ancestral property in central Tamil Nadu. Deemed a scrap car by my folks already, I was determined not to give up on the car that had taught me a lot and kindled my passion for cars.
At the start of 2022, the car breathed a new lease of life with complete electrical wiring and interior overhauls. The Siena required several parts replacements (like brake booster with master cylinder, wheel cylinders, timing belt, control arms, tie rods, and so on) and parts reconditioning to come back to its ‘running’ glory, without warranting any tedious engine block or gearbox overhauls, much to my surprise.
Since the car was running fine with just minor niggles, I then decided to test drive the car for some 5,000 kms, so that it can perform on the road and convey what more it needs for a complete restoration. So, I deferred other uncritical and aesthetic restoration works for later, including the replacement of engine core components like valves, gaskets, clutch plate, even a full-body paint job.
Also Read: 1999 Fiat Siena: An Italian Delight | Nostalgia
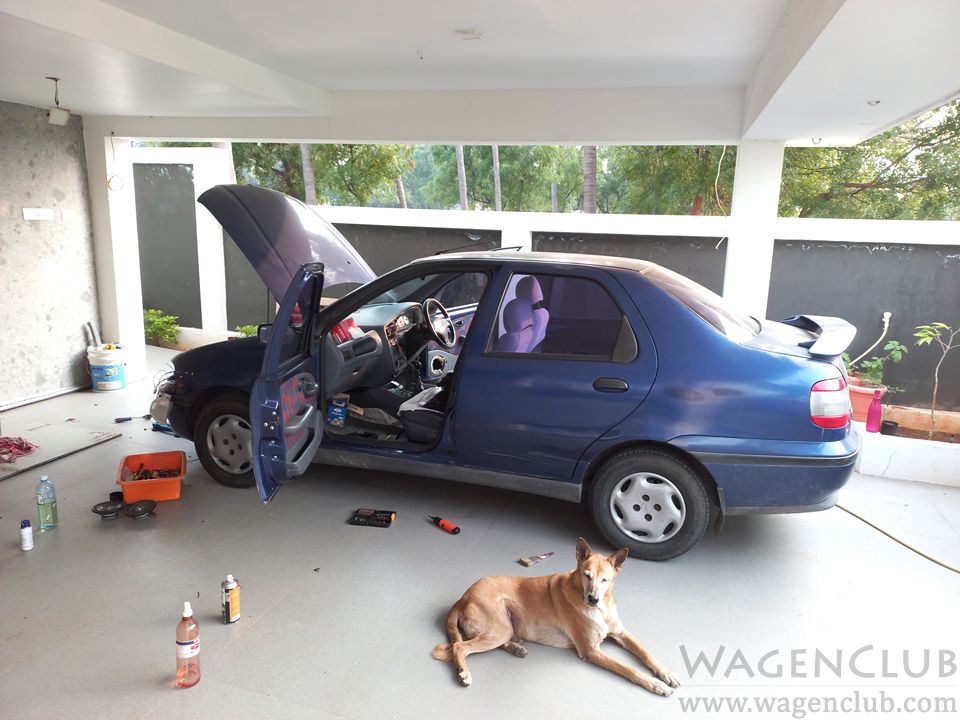
Last month, my Fiat Siena underwent a significant mid-term overhaul. The car was awaiting multiple fixes for a couple of months, worsened by the abrupt failure of one of the transmission-side CV axle gaiter (rubber boot), resulting in transmission fluid leak.
In the following section, I have elaborated on the list of repairs that my 24-year-old Fiat Siena underwent lately, after clocking some 4,000 kms in the last 16-17 months post the mechanical restoration.
Drive shaft boot
To start with, the most critical issue was the tearing of the driveshaft boot (differential side) which resulted in transmission oil leak. The boot gave up abruptly during my recent trip to Coimbatore, leading to slow dripping of the oil. Since I was aware of the problem, I topped up the gearbox oil on my way and returned home safe, despite the oil leak.
Upon inspection, the outboard plunge joints (wheel side) of the CV axle were also diagnosed with slight worn-out symptoms, which resulted in shuddering and vibrations while accelerating or at high speeds. So, the drive shafts were given for reconditioning and service at a local CV joint repair shop.
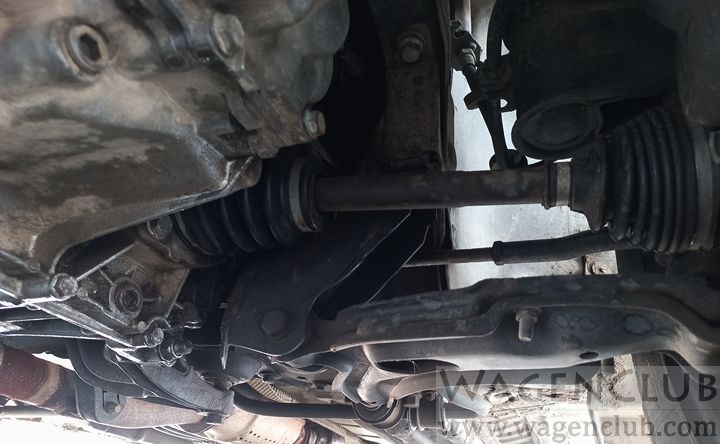
Since I was unable to source genuine quality differential-side boot, I had no choice but to resort to an aftermarket replacement from the ‘Bravo’ brand (Parul Rubber Products) both the times, earlier during the initial restoration and this time as well. Originally meant for Fiat Uno models, the boot is also a direct fit for pre-facelift Siena. However, its quality is not great, quite apparent from its stubborn rubber feel and previously lasted for just 4,000-odd kms.
Blockage in brake fluid lines
The braking effect of the car seemed uneven with too much forward roll and lackluster braking, despite skimmed front discs and new brake pads, rear shoes and wheel cylinders. I suspected that the rear braking efficacy was not adequate, thereby pushing the body forward during hard braking.
It was later found out that the flow of brake fluid to the rear wheel cylinders was limited, despite proper flow out of the master cylinder and ABS pump. Rigid hoses had no signs of damage or leak, thus pointing fingers at the flare nut joints and flex hoses. After replacing the flex hoses on both sides, the fluid flow and braking effect improved significantly.
As expected, getting either a genuine or Siena-specific rear brake flex hose was out of the question. The flare nut design (of Fiats) did not match that of other brands, even a flaring tool kit did not help much. Finally, I found aftermarket flex hoses of Fiat Uno that turned out to be a perfect match. The brake drum
AC evaporator coil leak
During the initial restoration, an air pressure test on the AC lines revealed no abnormalities. The compressor and its clutch system also worked fine. I simply cleaned the cooling coil (evaporator) located inside the HVAC (blower) unit, replaced the blower motor resistor, and removed the heater core (coil) as it had no relevance to the tropical weather of Tamil Nadu.
Some 6-7 months later, the car’s cooling efficacy dropped gradually and reached a point where the compressor refused to kick in, indicating the absence of the refrigerant due to a possible leak in the system. Since this would mean a leak in either the evaporator coil (whose replacement warrants removal of the dashboard) or the AC condenser (again a bit task to replace), I decided to wait until the next comprehensive overhaul.
A leak was identified at the cooling coil’s expansion valve joint. To be on the safer side, I replaced both the coil and valve (same as Fiat Palio), which were luckily available in a car AC parts store in Madurai. The air-conditioning works perfectly now, except for the average air throw of the blower, in comparison to that of modern cars.
I also made some efforts to insulate the blower assembly against the engine heat emanating through the firewall, by pasting a custom-cut thermofoam sheet on the blower housing from the inside. Usually, the blower fan picks up the air from the firewall housing, picking up the engine heat as well, since the polyfoam insulation inside the engine bay is also worn out. After applying this fix, there is a noticeable difference.
Coolant tank
The coolant expansion tank of my Fiat Siena had developed surface corrosion on the outside bottom due to its age and exposure to heat. Although it did not pose any immediate risk, I decided to replace it with a spare tank that I had secured from a scrapped Siena diesel. The stock coolant tank of my Siena has the imprints of ‘Valeo’ and ‘Made in Brazil’. It is smaller in size and unique in design, unlike its replacement same as the one found in Palio 1.2 and 1.6 models.
The inlet/ outlet positioning and fittings of the replacement tank matched the stock reservoir, except for a slight discord with the radiator crossbar. For now, I have just secured the tank’s lock atop the radiator and tightened the tank with a zip tie for additional safety. Later on, when my Siena goes for bodywork and a paint job, I can make a permanent fix by slightly adjusting the crossbar to secure the two remaining screw fittings of the tank.
Also Read: Fiat Siena: Cleaning rusty fuel tank | DIY Car Restoration
It is pertinent to note that while swapping coolant expansion tanks of different sizes, the tank’s cap should bear the same pressure threshold as the stock tank cap. It plays a key role in maintaining the optimum coolant pressure in the system, by acting as a safety valve to subside high-pressure build-up that may blow up the hoses. I retained my Siena’s stock tank cap with a pressure rating of 1.4 bar, as I suspect the one from the coolant tank of a diesel car may have a higher threshold level.
Fuel filter replacement
I missed replacing the fuel filter of my Siena during my initial restoration due to the unavailability of the part at that time. My Siena originally came with ‘Fram’ branded petrol filter with a “Made in Brazil” imprint on it, which was replaced in 2010 with a ‘Purolator’ filter (same as Fiat Palio). Both these filters were of similar design and were direct replacements.
However, much to my disappointment, I couldn’t get a Purolator filter anywhere in my region this time as well. Instead of waiting to be shipped from Delhi or Mumbai, I decided to go for an alternative. Vola! I found that petrol filters for Fiat Punto/ Linea match my Siena’s fuel tube joint locks. Although the ‘Sofima’ branded fuel filter I got did not have any fitting options (unlike the stock parts), zip ties came to the rescue, further secured by underbody plastic covers.
Broken steering horn
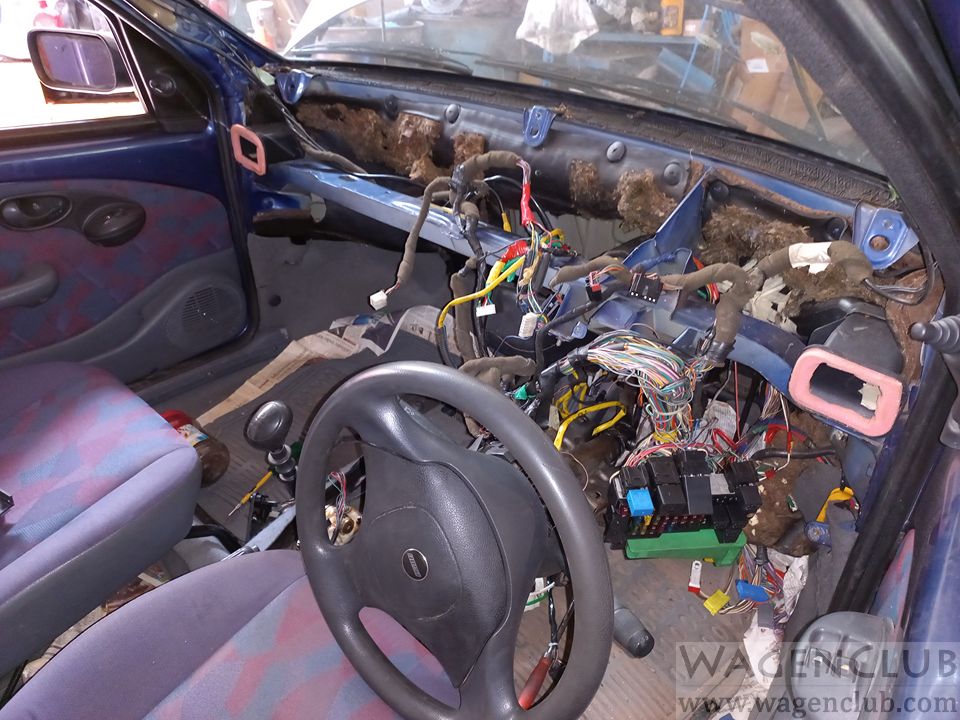
For quite some time, even before its dormancy, my Siena’s horn had some loose-contact issues. The steering horn switch worked erratically, despite a tidy contact panel and wiring. During the restoration, I realised the issue could be because of a faulty or broken clock spring (in cars with steering airbag), but had no time nor the know-how to open it up for diagnosis.
Upon removing the clock spring from the steering column, I noticed that the contact spot housing the wiring connector was slightly broken, along with a cut on the ribbon cable. I then carefully disassembled the clock spring and the ribbon wire, fixed the cut, and reassembled it the same way inside the clock spring. The broken connector was replaced with a custom connector and the clock spring case was sealed to prevent the entangling of the cable. Lucky me, it worked!
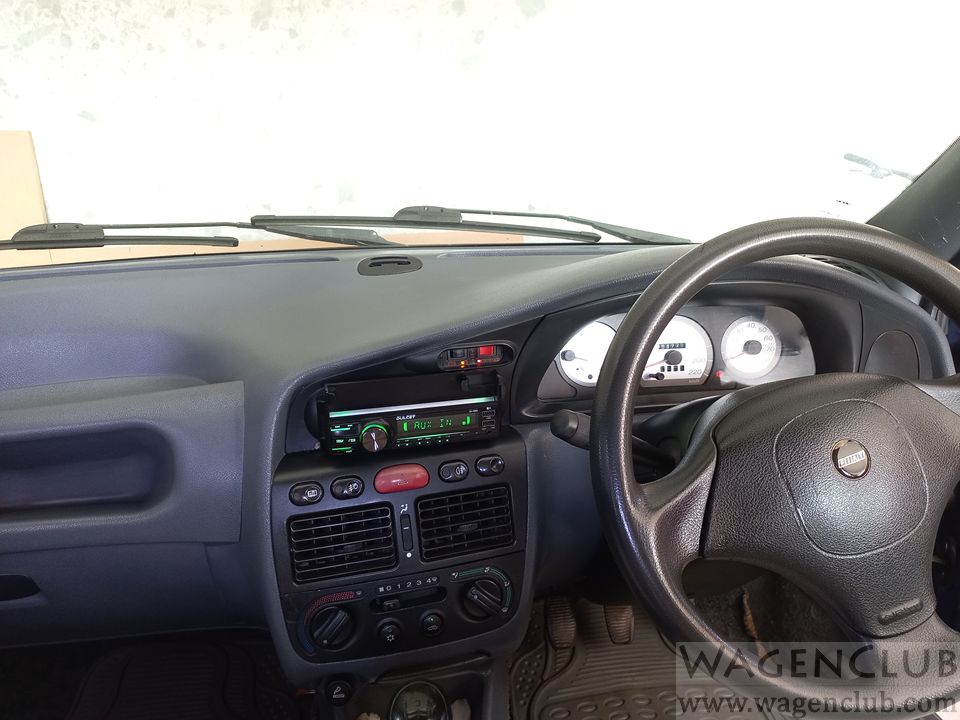
New music system
The removal of the dashboard prompted me to upgrade the music system and related wiring. Got four JBL speakers (for the front and rear) and Dulcet DC-F90X stereo from Amazon for the upgrade. The speakers were of decent quality, while the stereo unit is also not bad in performance and features for its budget price.
More specifically, I was attracted by the in-built mobile phone holder of the Dulcet stereo. But, it posed a risk in terms of fitment, considering the stereo slot and the curvy center console design of the Siena’s dashboard. I had to make some custom fittings and minor panel tweaks to house the stereo at the right position, to make use of its phone holder as well.
Headlight rewire
One of Fiat Siena’s biggest drawbacks, even in its earlier days, is the ability of its lens-optic headlamps. Designed for European standards, the car’s lighting was never adequate on Indian roads. The car’s lighting setup is such that the low beams will turn off when put to high beam, unlike modern cars that keep both the beams on in high beam mode.
To overcome this issue, I decided to rewire the circuit, bypassing the stock relay (located in the combination switch unit) and fuse, with a separate aftermarket relay and fresh wiring with additional fuses. This enabled both the beams to operate when high beam is turned on.
Also Read: Fiat Siena: DIY Headlamp Outer Glass Restoration
The only side effect of this mod is that the headlamp assembly gets heated up real quick. This problem is endemic largely to city driving, as the assembly’s outer glass is cooled better at highway speeds.
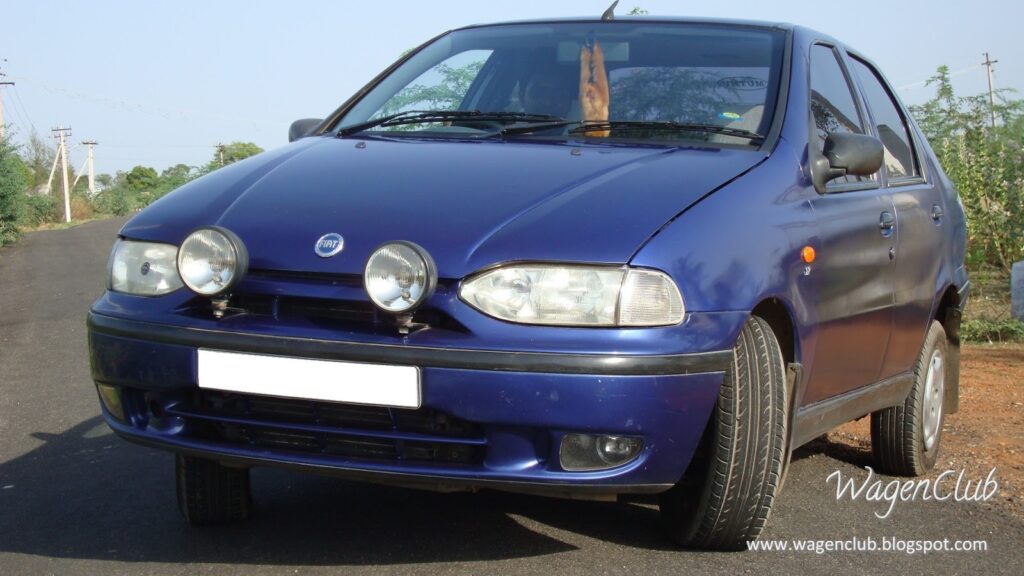
1999 Fiat Siena 1.2 ELX-SP – Image Gallery


For more images and updates, visit our Instagram page.